Setting up Apple Family Share allows one parent or carer to set permissions for their child’s iPhone remotely to approve spending and downloads, locate the phone, and set parental controls for applications and internet browsing from their own iPhone.
You can download this guide as a PDF Here
How to set up Family Share
- Goto ‘Settings’ in the parent phone and then press the name at the top
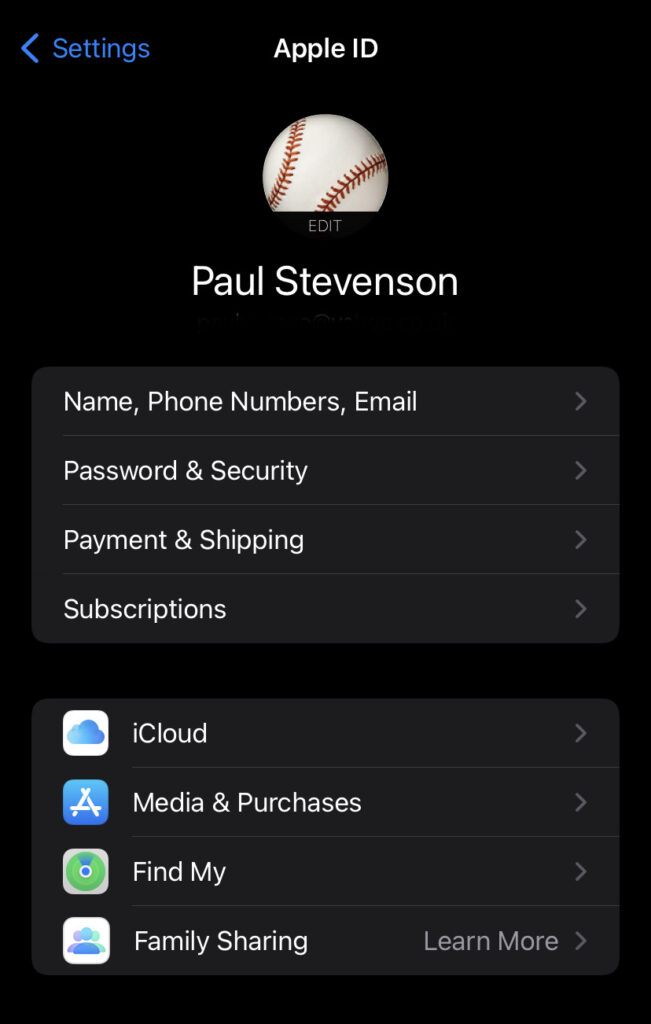
2. Click ‘Set up your Family’
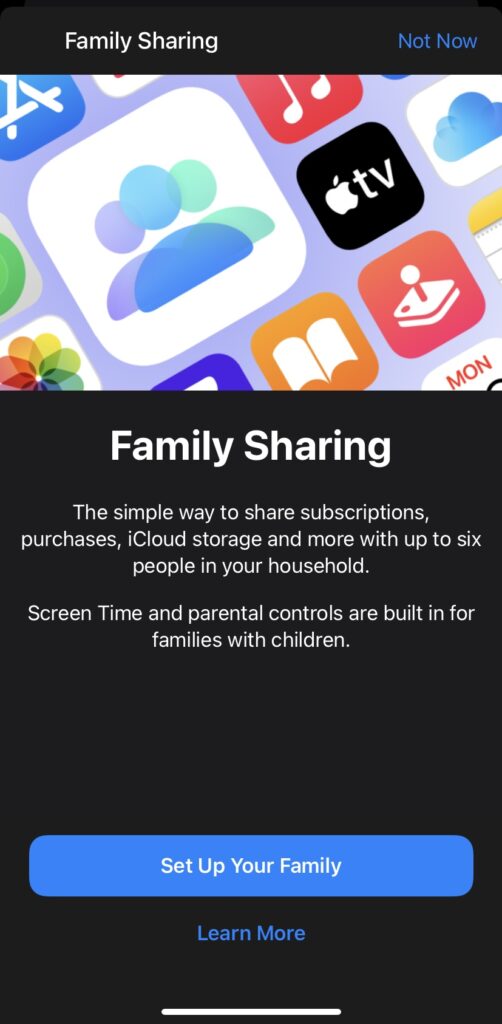
3a. Choose ‘Create an Account for a Child’
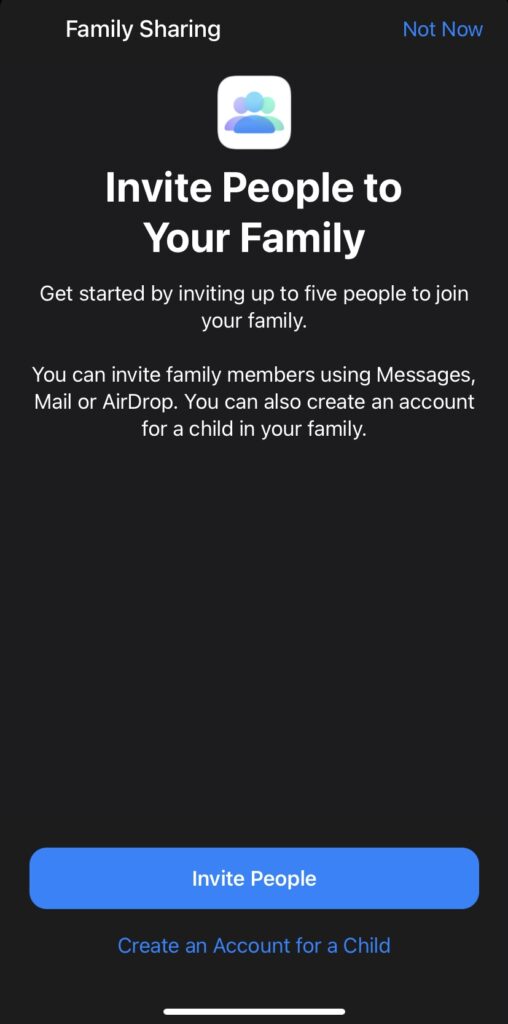
3b. Click ‘Create an Account for a Child’
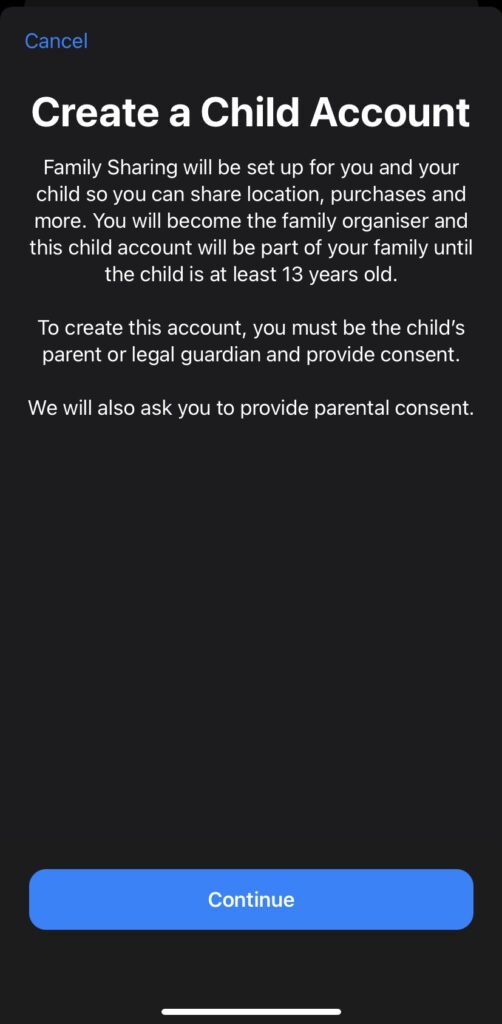
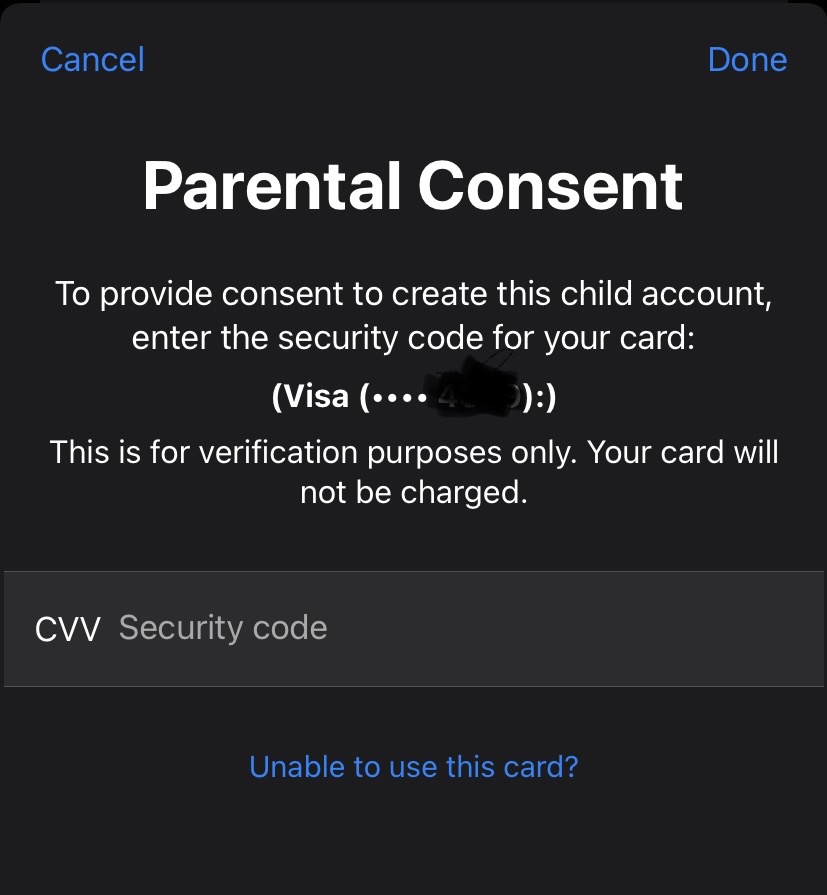
3c. Click ‘Continue’ and you’ll need to enter the security code (CVV) of your card, for verification purposes only, in order to provide consent to create the child account. The card will not be charged.
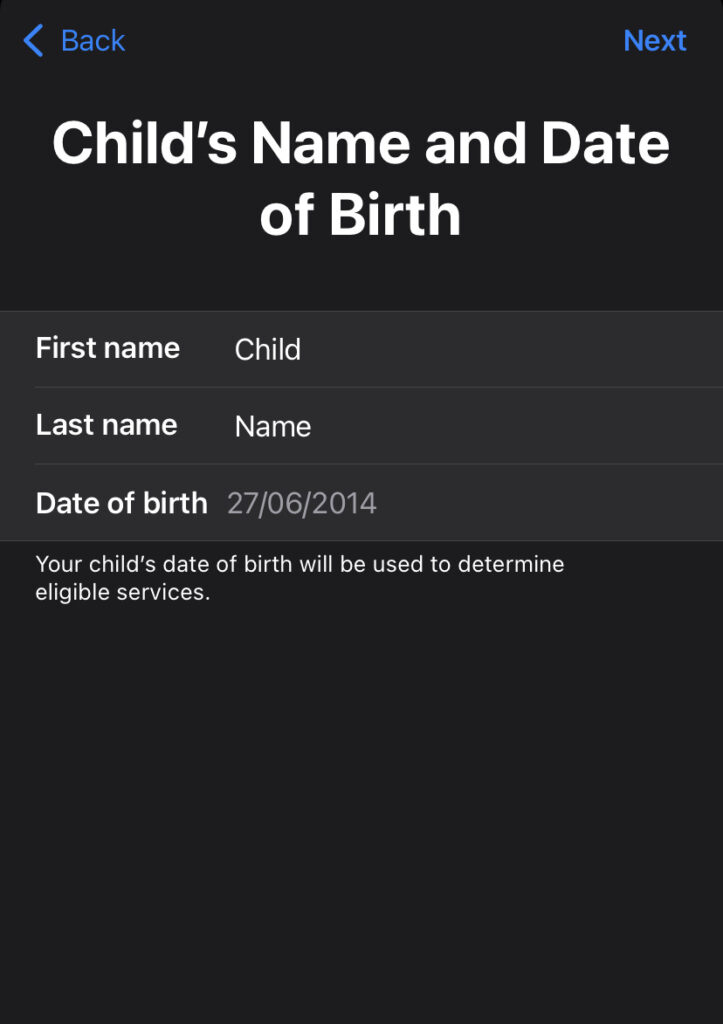
3d. Now add the name and DOB of your child
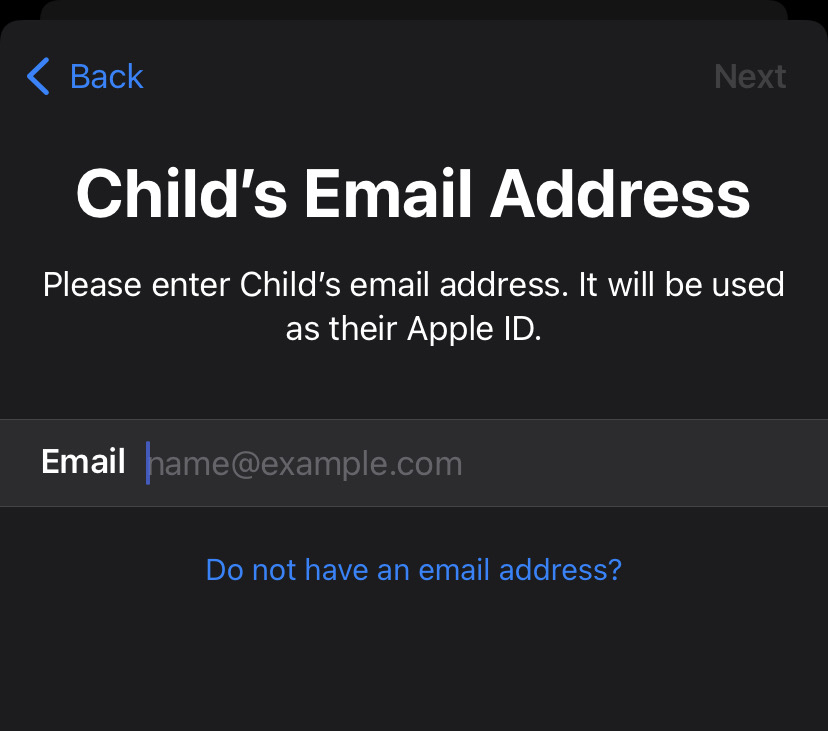
3e. Now create an email address to be used as their Apple ID by clicking ‘Do not have an email address’ – If they already have one, enter it and skip to 4.
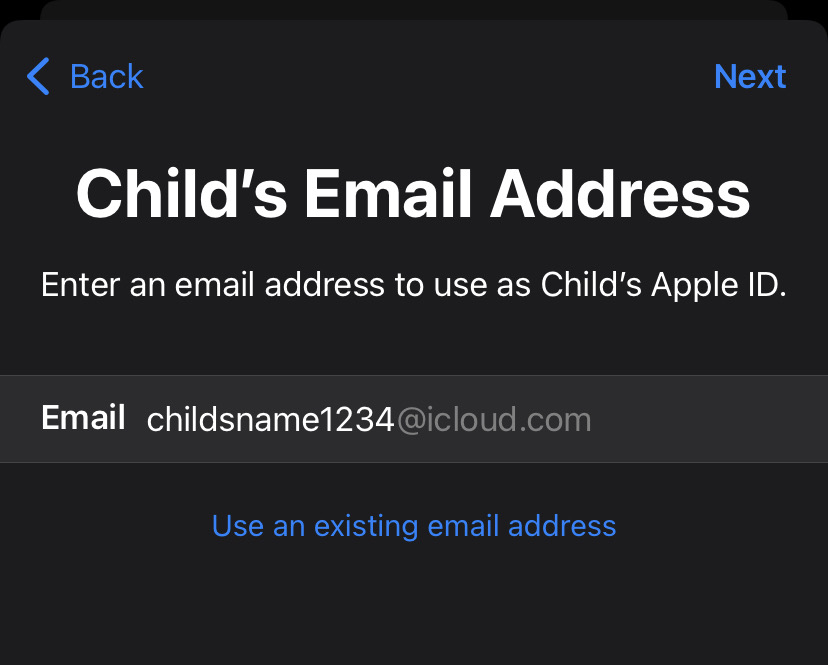
3f. Create an email address
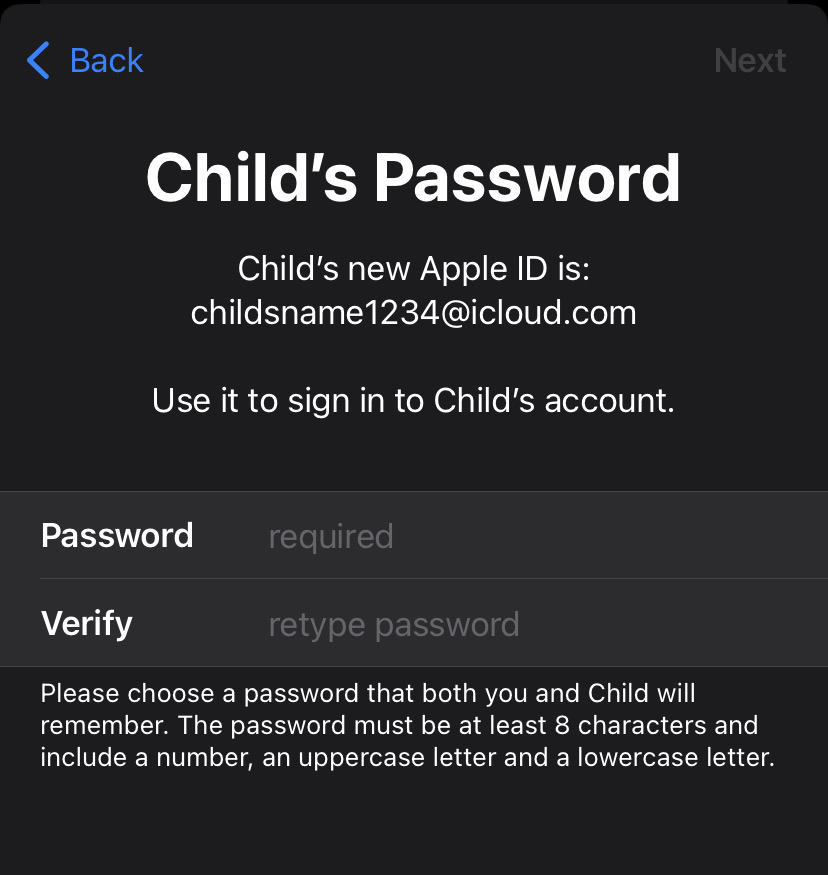
4a. Create a password
4b. Choose whether you would like the verification code sending to your phone, or your Childs phone. Note: if sending to the Childs phone, it will be blocked, but will be recorded in your portal in stead; so you’ll need to log in and retrieve it from there.
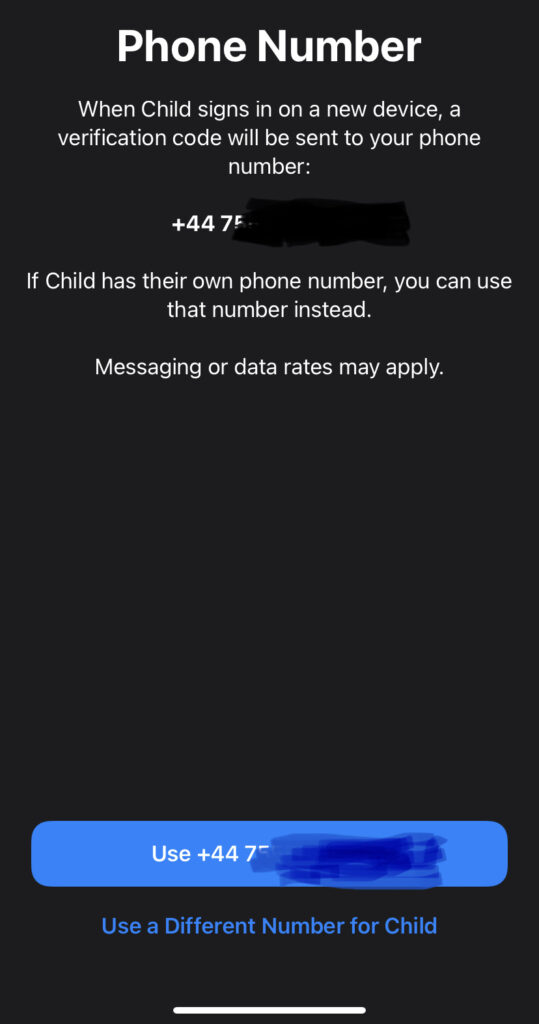
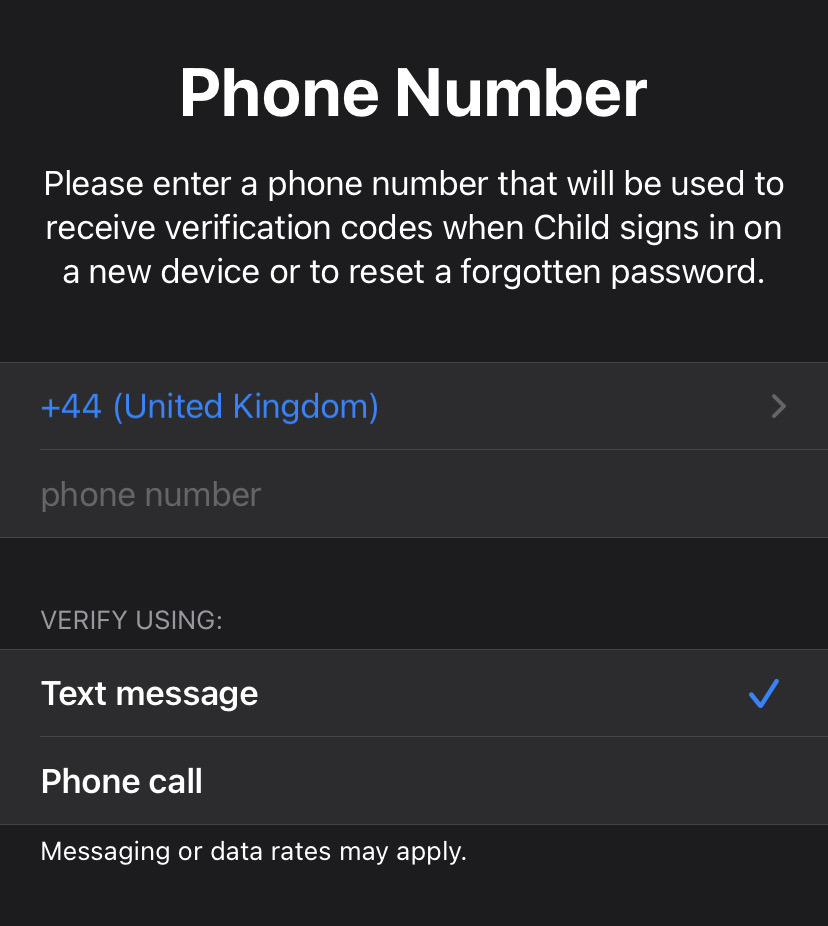
4c. Enter the phone number you wish to use for verification codes
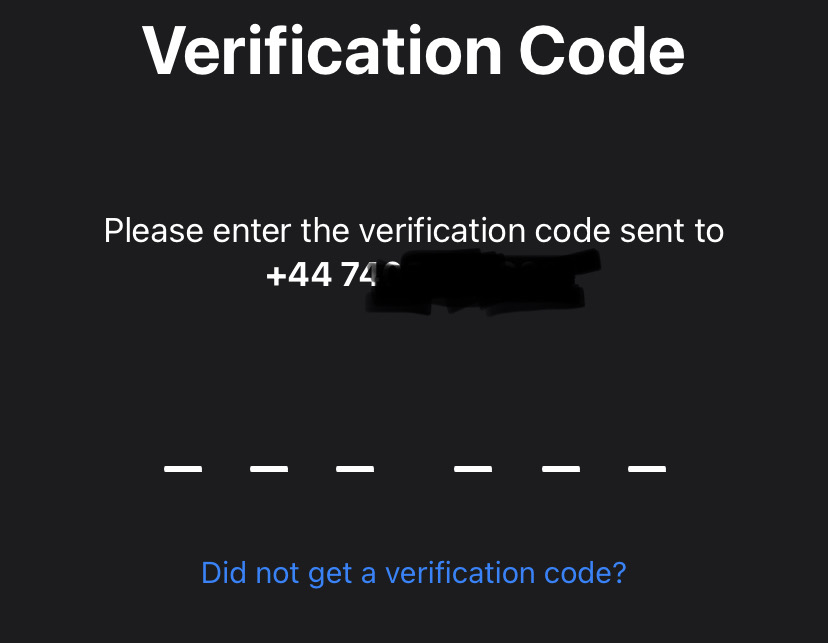
4d. Enter the verification code (sent to your own phone, or retrieved from the portal)
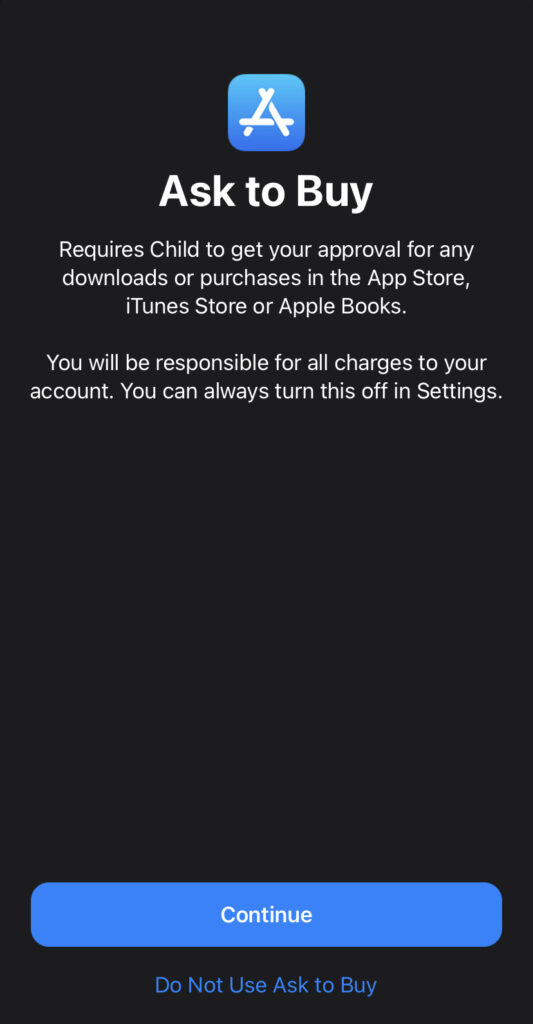
5a. Ask to buy: with this enabled, the child can make request for a download of an application, or a purchase and that will come through to your phone to approve or decline. If you approve it, it will download, but if you decline it, it won’t. You can learn more about this here https://support.apple.com/en-gb/HT201089
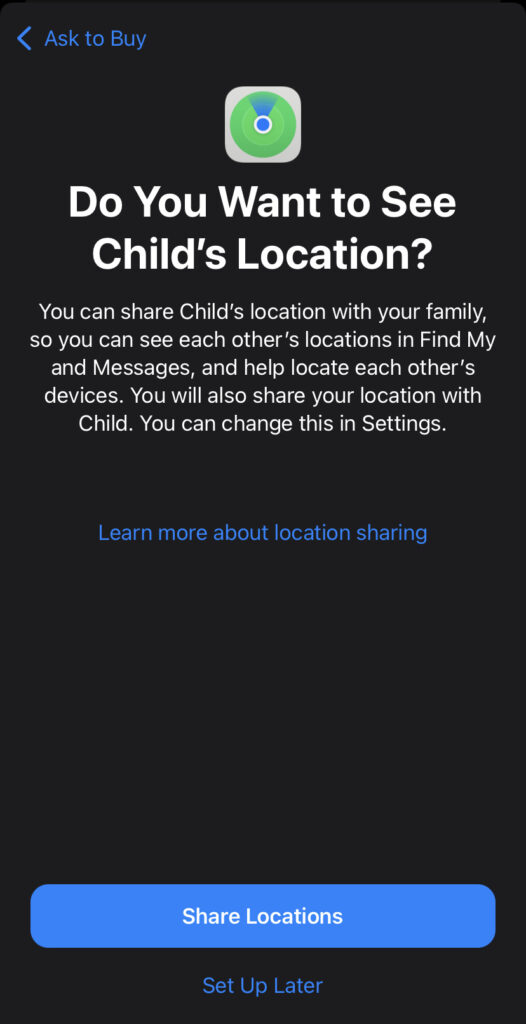
5b. Location: with this enabled, you’ll be able to locate your Childs phone at any time from your own phone via Apples FindMy service. You can learn more about this here https://www.apple.com/uk/icloud/find-my/
Note: a data connection is required to locate your Childs phone, so make sure that mobile data is properly configured on their phone as in our guide here https://parentshield.co.uk/data-guide/ and that mobile data is switched on in your portal. Also, that there is some cash balance to use for data if on Safe Stage 1.
Tip: If you don’t want the child to access data, and only want it for location purposes, you can leave data switched off in the portal and then when you want to locate the phone, switch data on, do the lookup and then switch it off again. Lookups work out at around 1p each at PAYG rates.
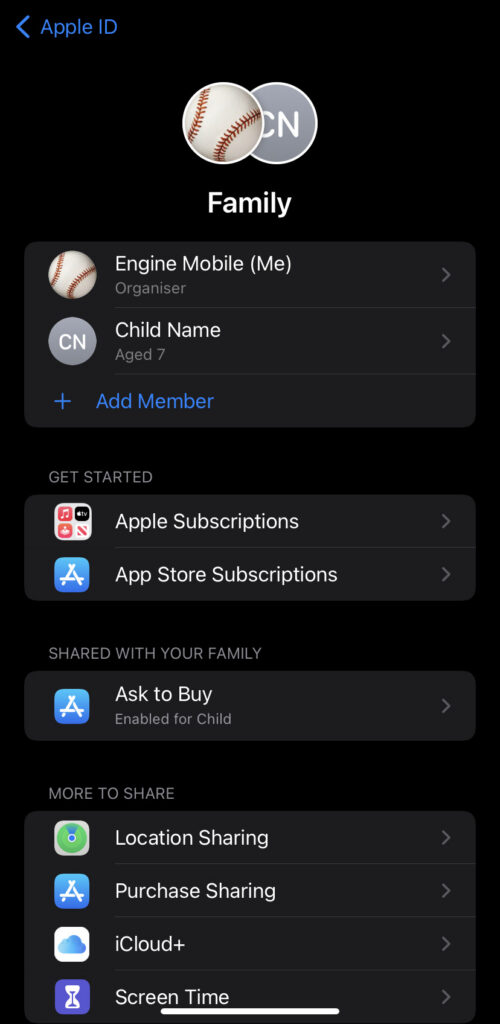
That’s the initial set up complete, so now we’ll go through Screen Time set up. There are lots to play with, so we’ll run through the most common parental controls that we discuss with our customers.
Screen Time
1a. Click on ‘Screen Time’
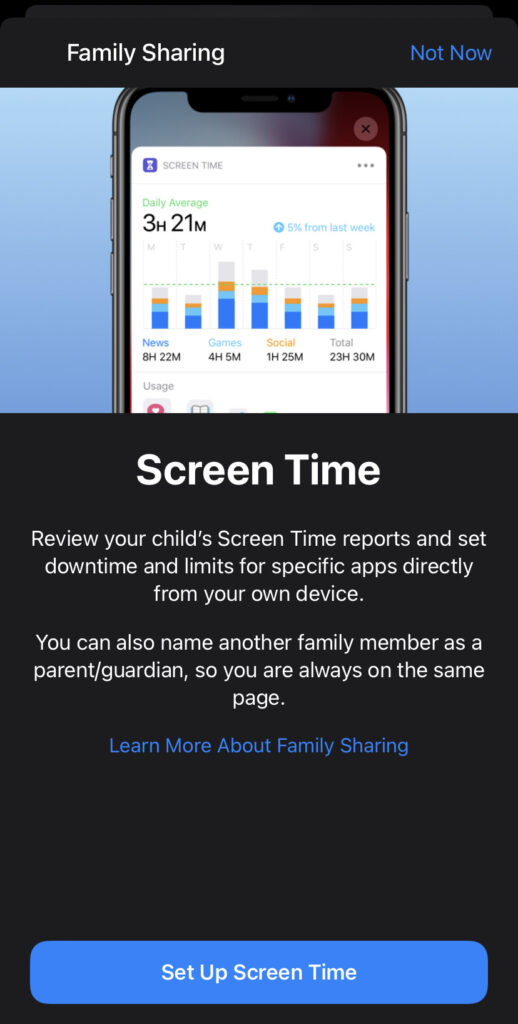
1b. Click on Set Up Screen Time
1c. Choose your Childs name
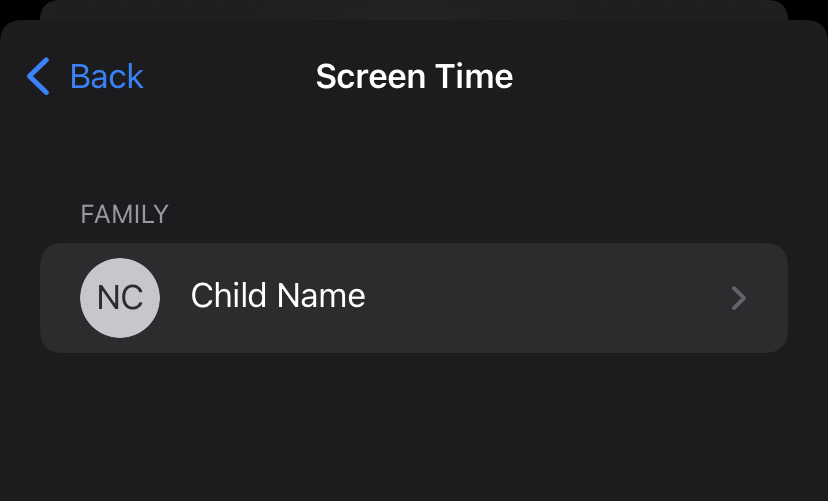
1d. Press ‘continue’
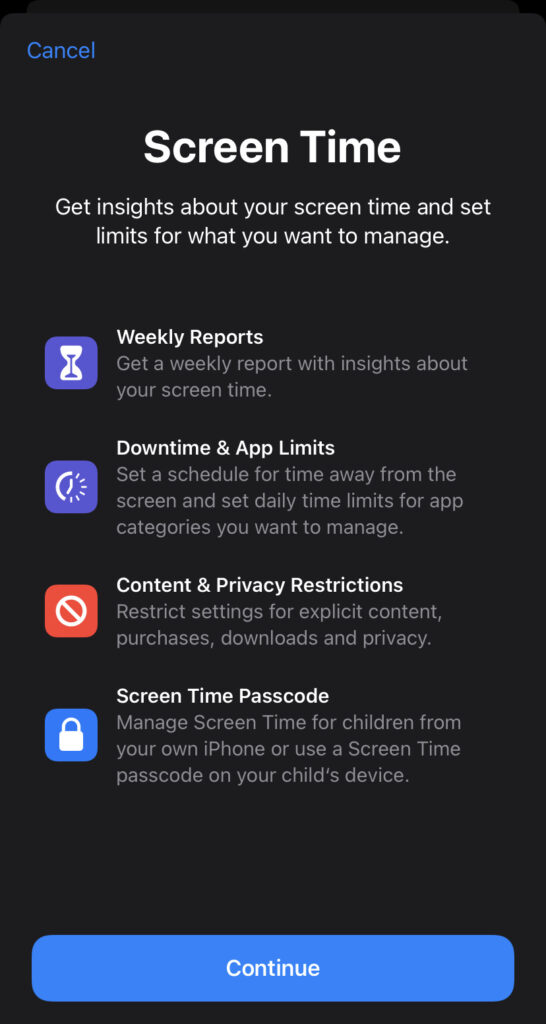
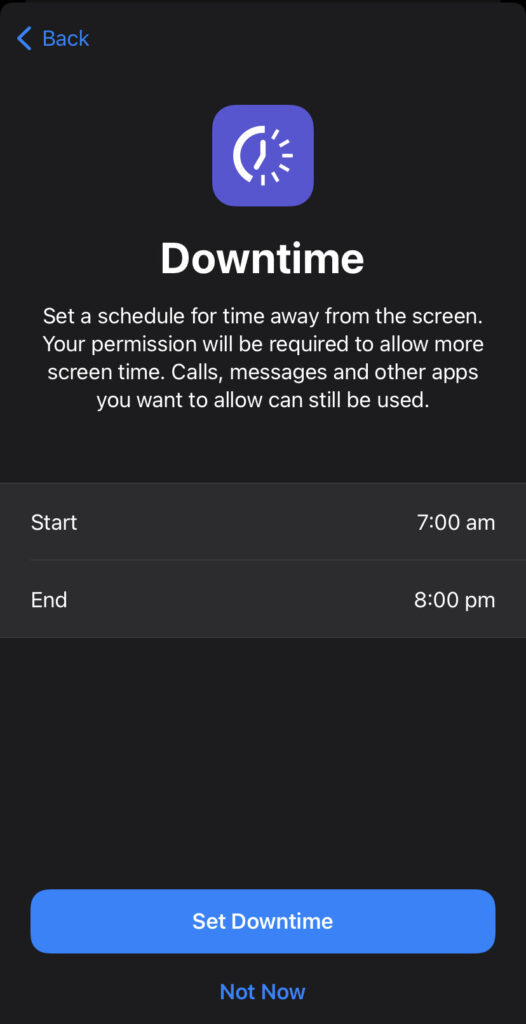
1e. Downtime: You can set time controls for time allowed on the screen, after this time they will need to request more time, and that request will come to your phone to approve or decline.
Note: Calls and texts will still be allowed, so make sure you have time controls set for these in your ParentShield portal.
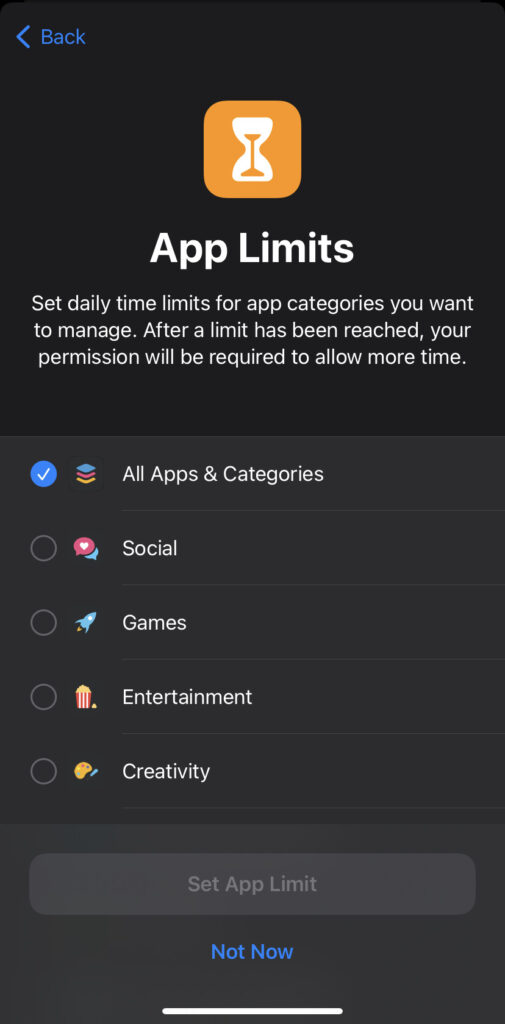
1f. You can now set daily time limits for apps if required – after this time they will need to request more time, and that request will come to your phone to approve or decline.
The final part (phew!) is the most important, as this allows you to block adult content over all connection channels or pre-approve a list of websites that can only be accessible. Also, to disable the camera if needs be, and choose the age range of applications to be made available, or to disallow the ability to download applications completely.
Content & Privacy Restrictions
1a. Press ‘continue’
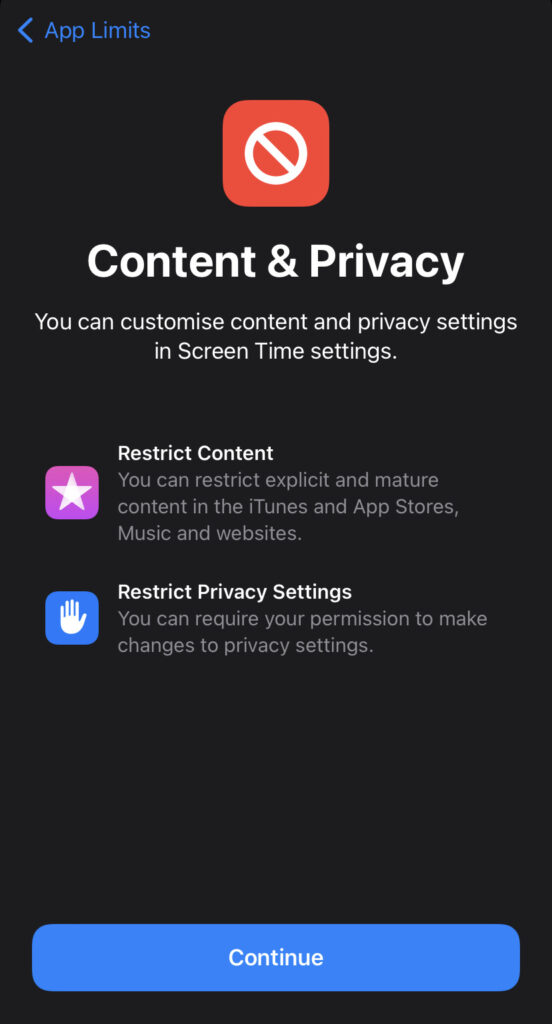
1b. Choose a Screen Time Passcode
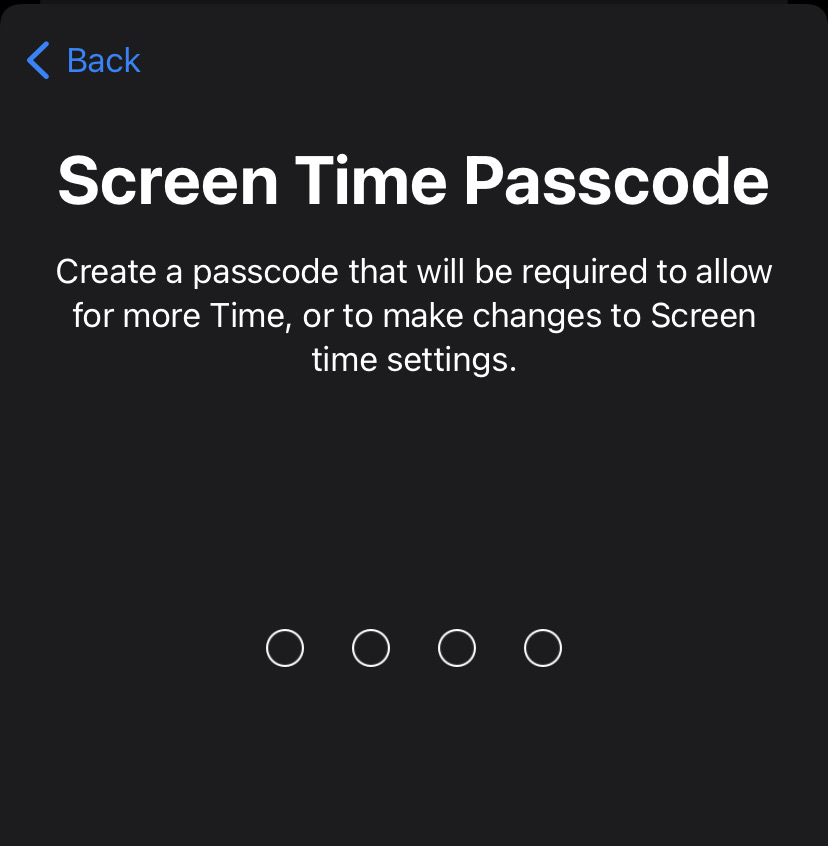
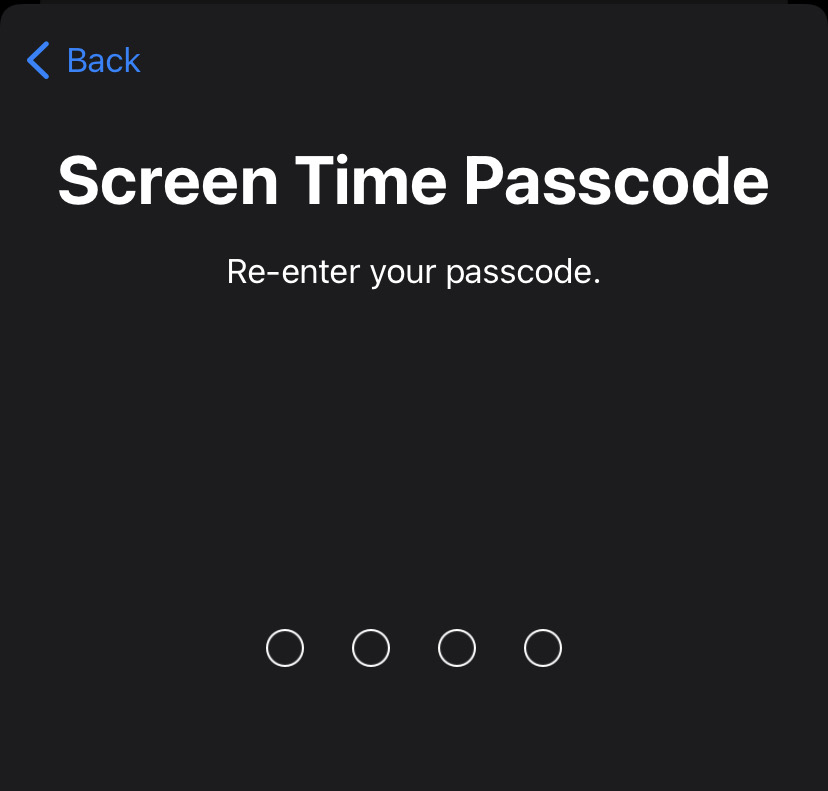
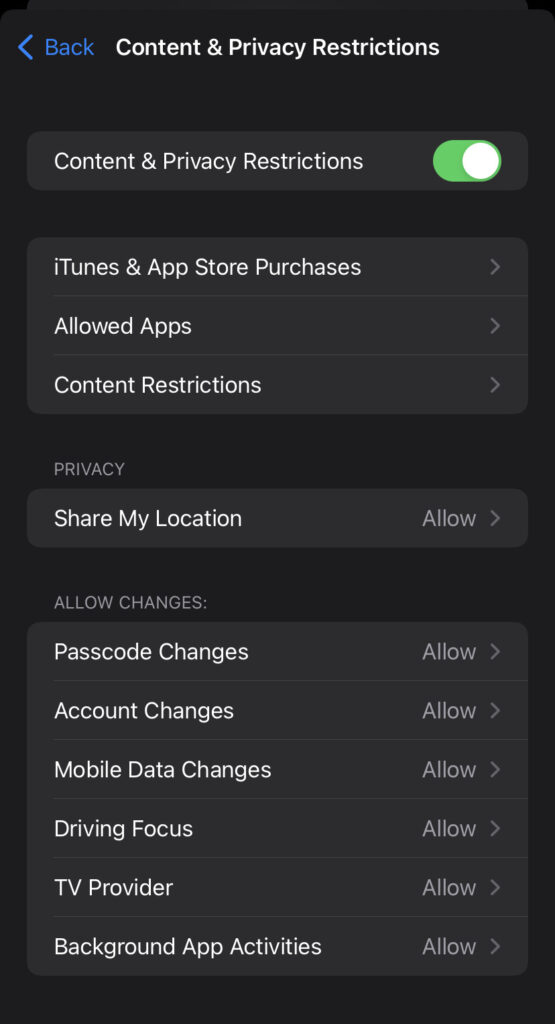
1c. Choose ‘Content & Privacy Restrictions
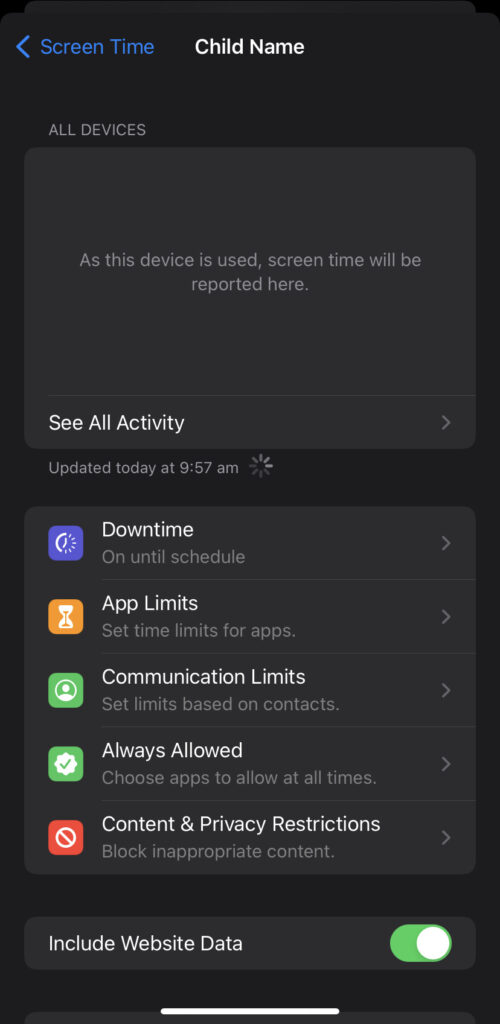
1d. Turn on Content & Privacy Restrictions
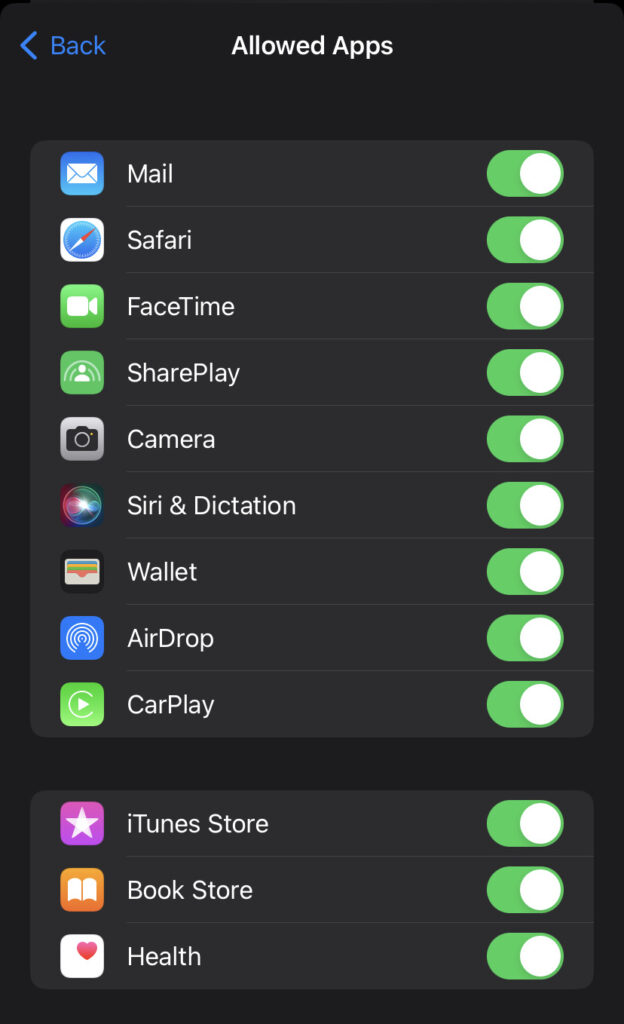
1e Allowed Apps: when you click into Allowed Apps, it beings a list of applications, with the ability to disable them. Lots of our customers ask about disabling the browser or camera for Safeguarding – this is the area to tailor this as you like.
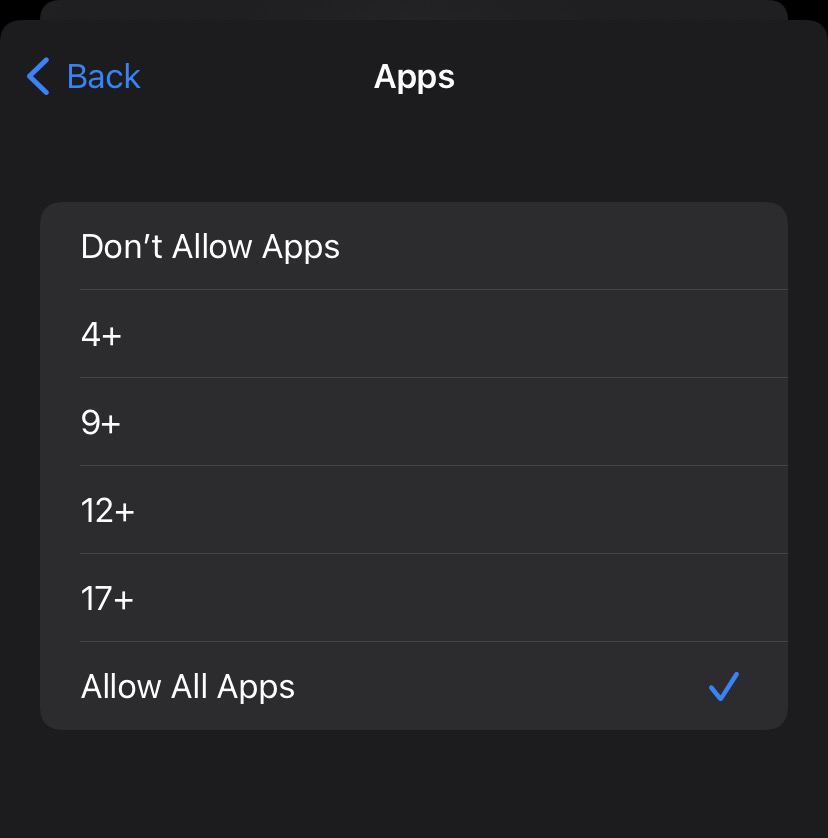
1f. Press back in the top left to go back to the menu and then click ‘Apps’. From here you can choose the age rating of applications allowed on the phone, or the ability to disallow applications completely.
Note: This works retrospectively too, so any applications already installed on the phone above the specified age will disappear from the Home Screen once selected. And will also return if the choice is reverted.
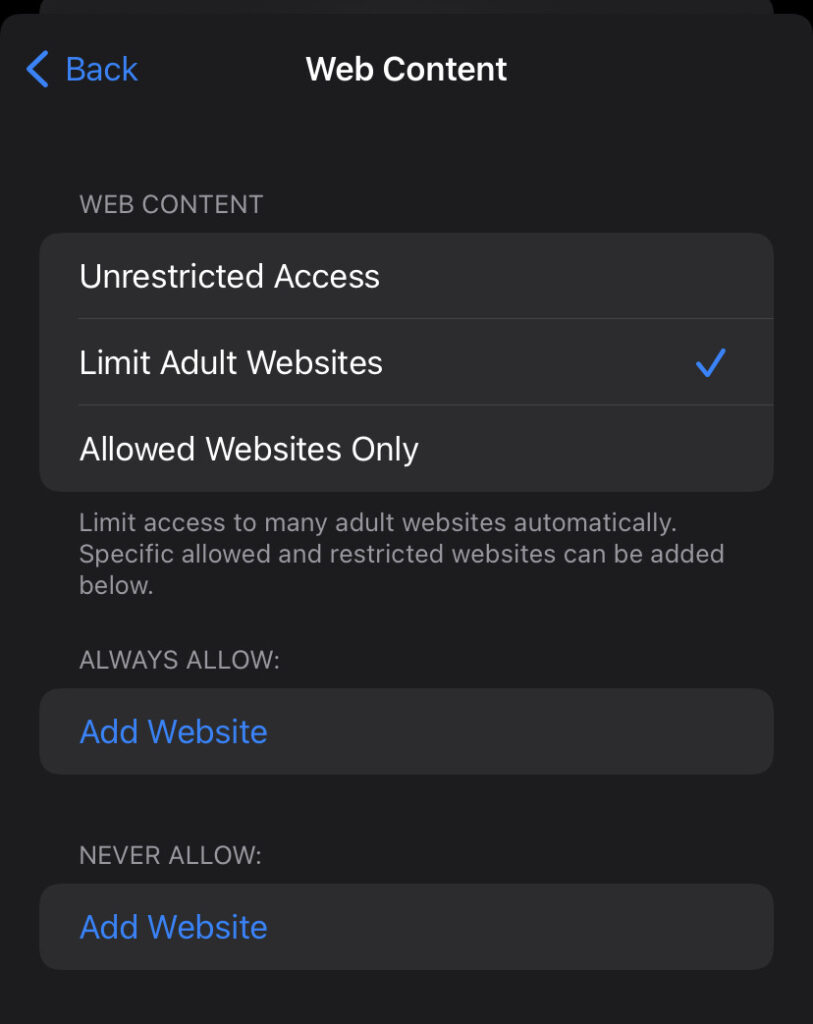
1g. Press back in the top left again to get back to the menu again and choose ‘Web Content’
Phones can access data from many channels, including Wifi points, personal hotspots and VPN’s, so from here you can choose ‘Limit Adult Websites’ to block websites that are classified as pornographic, weapons, drugs, self-harm, religious material etc.
Alternatively, you can pre-approve a list of websites that the phone can access by choosing ‘Allowed Websites Only’ and creating an allow list.
Over to you!
There are many other things to play with within here, so we would encourage you to familiarise yourself with what is available to tailor your Childs access to all things online in concert with the unique parental controls and monitoring capabilities available from your ParentShield portal https://parentshield.co.uk/portal-guide/
Now click on the image below to get a Child-Safe SIM card
